Introduction
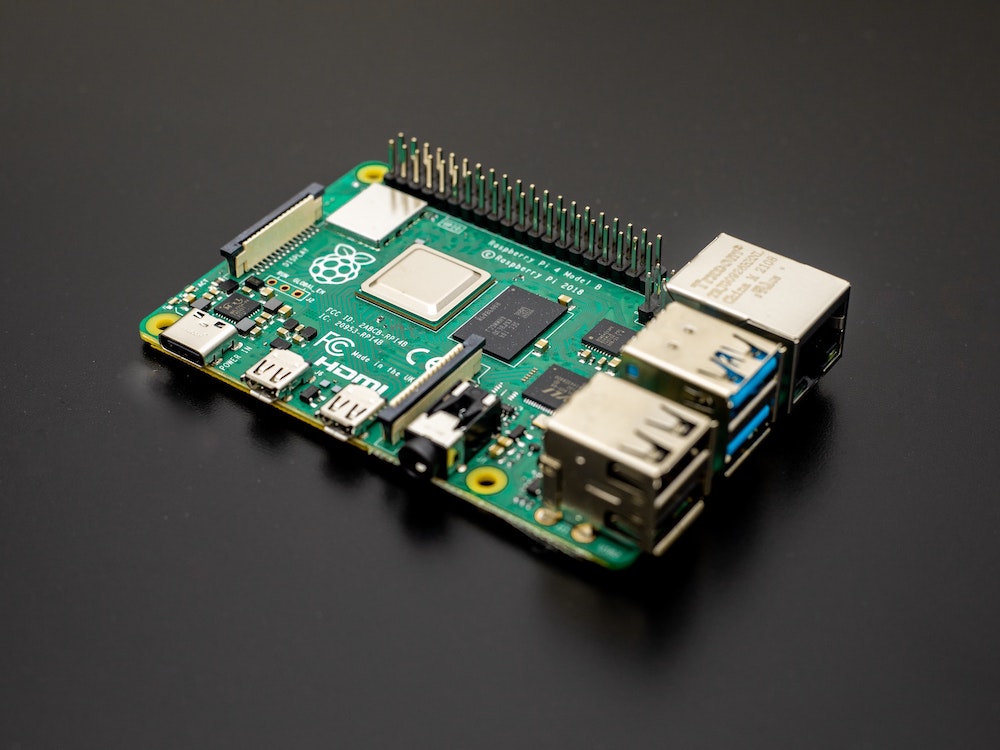
So, you’ve finally managed to get your hands on a RaspberryPi? That in itself is a huge accomplishment atleast based on the situation at the time of writing. Now it’s time to dive into the world of self-hosting. Let’s get started! Here is a list of things that you’re gonna need to get going. Some of these are not absolutely necessary but definitely recommended.
- RaspberryPi 4 (Atleast 4GB ram)
- Power Adapter
- Case (Recommended to go with something that has active cooling)
- SSD (Definitely use SSD instead of MicroSD for boot drive especially for our use case)
- Micro-HDMI adapter (Or just a micro to full size HDMI cable) You can also just buy a kit that comes with all this and much more to get you going.
OS Installation
This part of OS installation is covered by probably any blog related to the RaspberryPi and so I won’t be covering here in detail. You can follow this guide or this video for detailed steps. In my set-up I am using RaspberryPi OS 64bit running on a 240GB SSD. You can go with the lite OS installation if you wish but the desktop environment can come in handy sometimes, especially when trying to troubleshoot some error.
Once you are up and running, fire up the terminal if you are at the desktop using HDMI and make sure you do a sudo apt update && sudo apt upgrade before proceeding with the next steps.
Installing Docker
Docker is what I am using to run majority of my apps & services. It may seem complicated at first but trust me, once you start using docker for deploying your services, you won’t look back! For quickly and easily deploying docker we will be using an install script from the pi-hosted series.
To install docker, run
| |
You can visit the url mentioned above to go through the installation script before running it, which is a good rule to follow anyways. Never blindly run any scripts on your machines. Post installation of docker, reboot your Pi. Now you should be having docker up and running on your machine. You can test this by running docker run hello-world and you should see the following on your terminal

Installing Portainer
Portainer is a container management platform that we’ll be using to manage our docker containers. Installing this is also going to be easy as we will be using a script for this as well. This is basically going to be our first docker container installation!
To install portainer, run
| |
Now portainer should be up and running on your Pi. To access portainer, open any browser of your choice and navigate to the-ip-address-of-your-pi:9000 (eg. 192.168.0.125:9000) You should be greeted with the initial setup for portainer. Create a username and password and on the next screen make sure you select ‘Docker’ and click connect. That’s it, you should now be logged in to your portainer dashboard. For more details you can check the official portainer documentation. We are now ready to start installing various apps & services on our little RaspberryPi server!
Extra - Setting up OLED Display
So if you’ve got an OLED display with your Pi then here’s an example script for you to use to display stats on your display. Firstly you need to connect and set-up the display with your Pi. You can follow this guide for the initial set-up. Below is the script I personally use on my display. I am using a larger font in it just so that I can read the information displayed even when I’m not really close to the Pi.
https://github.com/spandan13/orbitsrv-docs/blob/main/OLED-Stats/stats.py
| |
To make sure your display works even after reboots you need to make sure the script runs automatically whenever the Pi reboots. To do this, open crontab crontab -e and add @reboot python3 /path/to/file/stats.py &
So now you should bu fully set-up with your new RaspberryPi and fully ready to go down the rabbit hole of self-hosting. See you down there!
